
- Портфолио
- Фотогалерея
- Товары и услуги
- Готовая продукция на складе производителя
- Деревянные дома, бани, дачи, хозпостройки
- Деревянная садовая мебель из массива дерева от производителя в Украине
- Premium Außensaunen. Hochwertige Saunen
- Пиломатериалы
- 🌲 Термододифицированная древесина (термодерево) от Thermowood Production
- Thermally modified wood. Thermowood. Thermowood Production Ukraine
- Wooden garden furniture made of solid wood from the manufacturer in Ukraine
- Спецодежда и спецобувь
- Изделия из гранита
- Услуги
- Туризм
- Экспорт саун в США и Канаду. Термодерево. 0% пошлин. Thermowood Production
- Мебель для дома
- Прайс-листы
- Новости
- Блог
- О нас
- Отзывы
- Доставка и оплата
How to prepare a site for a 7x2.7 m modular sauna. Step-by-step instructions from an engineer. Photos and videos.

🔍 Why the foundation is important even for a mobile sauna
Many customers mistakenly believe that a modular sauna doesn't require site preparation. After all, it's a "mobile structure" that can be placed directly on the ground. This is a dangerous misconception.
Even if your sauna has a reinforced frame and doesn't require a solid foundation, proper foundation preparation is critical for the following reasons:
1. Protection from moisture and decay
Wooden structures in contact with the ground absorb moisture due to capillary rise. Even rot-resistant Thermowood requires insulation from the ground to ensure maximum service life.
2. Stability of geometry
An uneven surface can cause the structure to become uneven. Even a 3-5 cm difference over a 7-meter length can cause:
- Differences in seams between boards.
- Doors and windows jamming
- Damage to internal communications (electricity, plumbing)
3. Durability of the roof and walls
A level foundation ensures proper load distribution. This is especially important for a pitched roof, where uneven loading can lead to deformation.
4. Operational safety
A properly prepared area with drainage prevents water stagnation around the bathhouse , which is critical for the safety of electrical wiring and the comfort of visitors.
5. Saving money
Site preparation costs (12,000–55,000 UAH) account for 2–8% of the sauna's cost . However, a lack of preparation can lead to repairs, which will cost 30–50% of the initial price within 2–3 years.
💡 Expert opinion : "A modular bathhouse doesn't require a permanent foundation, but it does require a level, stable base with drainage . This isn't construction; it's engineering preparation that can be completed in 1-5 days."
📊 3 Foundation Options: Comparison Table
There are several ways to prepare a site for a 7x2.7 m modular sauna . The choice depends on:
- Soil type (sand, clay, black soil)
- Groundwater level
- Budget
- Deadlines
- Plans for the future (do you plan to move the bathhouse )
Comparison table of foundation options:
|
Parameter |
Concrete slab |
Strip foundation |
Screw piles |
FBS blocks |
|
Price |
25,000–45,000 UAH |
30,000–55,000 UAH |
18,000–35,000 UAH |
12,000–22,000 UAH |
|
Installation time |
3–5 days (plus 7–14 days for concrete to gain strength) |
5–7 days (plus 14–21 days to reach strength) |
1–2 days |
1–2 days |
|
Complexity |
Medium (need a concrete mixer or concrete order) |
High (requires formwork and reinforcement) |
Low (special equipment for screwing in) |
Low (crane or manipulator required) |
|
Suitable for weak soils |
✅ Yes |
✅ Yes |
✅✅ The best option |
⚠️ Limited |
|
Slope suitability |
❌ No |
⚠️ It's difficult |
✅✅ Perfect |
⚠️ It's difficult |
|
Possibility of dismantling |
❌ Impossible |
❌ Impossible |
✅✅ Easy (dumps can be unscrewed) |
⚠️ Possible, but difficult |
|
Durability |
50+ years |
50+ years |
20–30 years old |
15–20 years |
|
Drainage |
Additional required |
Additional required |
✅ Natural (the space between the ground and the bathhouse ) |
⚠️ Limited |
Engineer's recommendations:
✅ Choose a concrete slab if:
- You have a flat area with a low groundwater level.
- You plan to use the bathhouse for 20+ years in one place
- The budget allows spending 25–45 thousand UAH.
✅ Choose a strip foundation if:
- The bathhouse will be large (over 20 m²) or two-story
- The soil is unstable (clay, loam)
- You want maximum reliability
✅ Choose screw piles if:
- A site on a slope or with a high groundwater level
- Needed quickly (1-2 days)
- It is possible to dismantle and move the bathhouse in the future.
- Best value for money and speed ⭐
✅ Choose FBS blocks if:
- The budget is limited (12–22 thousand UAH)
- Needed quickly (1-2 days)
- The soil is level and stable
💡 Our choice for a 7x2.7 m sauna : screw piles or FBS blocks . This is optimal in terms of cost, speed, and reliability for a modular structure of this weight (~2800 kg).
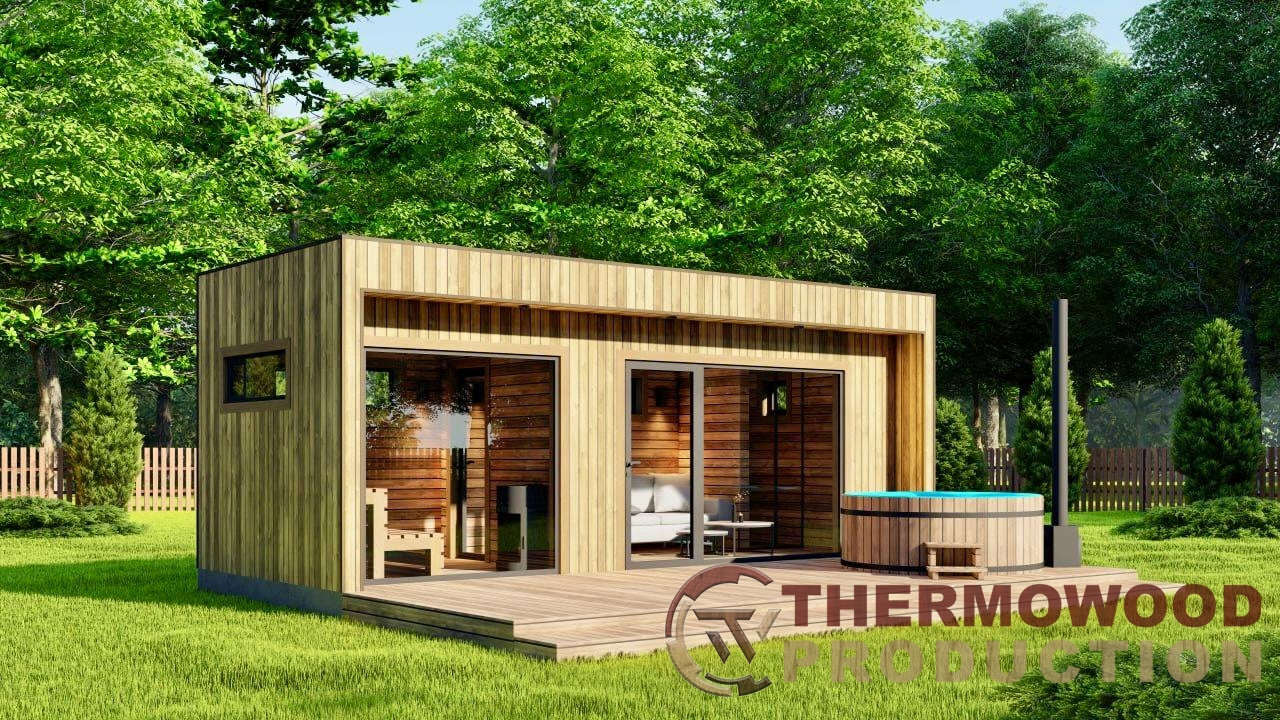
🛠️ Step-by-step installation: From marking to connecting utilities
Stage 1: Preparatory work (1–2 days)
Step 1.1: Determine the installation location
Accommodation requirements:
- Distance from the site boundaries: ≥1 m (according to DBN)
- Distance from other buildings: ≥3 m (fire safety)
- Access for a truck: width ≥3 m , height ≥3.5 m
- Distance to the network: ≤15m (for convenient connection)
- Distance to water and sewerage: ≤10 m (for shower area)
Step 1.2: Clearing the Site
- Remove vegetation (grass, shrubs, trees)
- Remove the fertile soil layer (10–15 cm) – this prevents plants from growing under the bathhouse.
- Level the surface (height difference ≤3 cm per 7 m length)
💡 Lifehack : Use the removed fertile soil layer for your vegetable garden or flower bed – don't throw it away!
Step 1.3: Markup
Tools :
- Colas (8 pcs.)
- Rope or cord
- Tape measure (minimum 10 m)
- Building level (2 m)
- Goniometer or Pythagoras' theorem
Process :
- Drive the first stake into the corner of the future bathhouse.
- Measure 7m along one side, drive in the second stake.
- Measure out 2.7g perpendicularly, drive in the third stake.
- Check the diagonals: they should be equal (tolerance ±2 cm)
- Stretch a cord between the stakes - this is the outline of the future foundation.
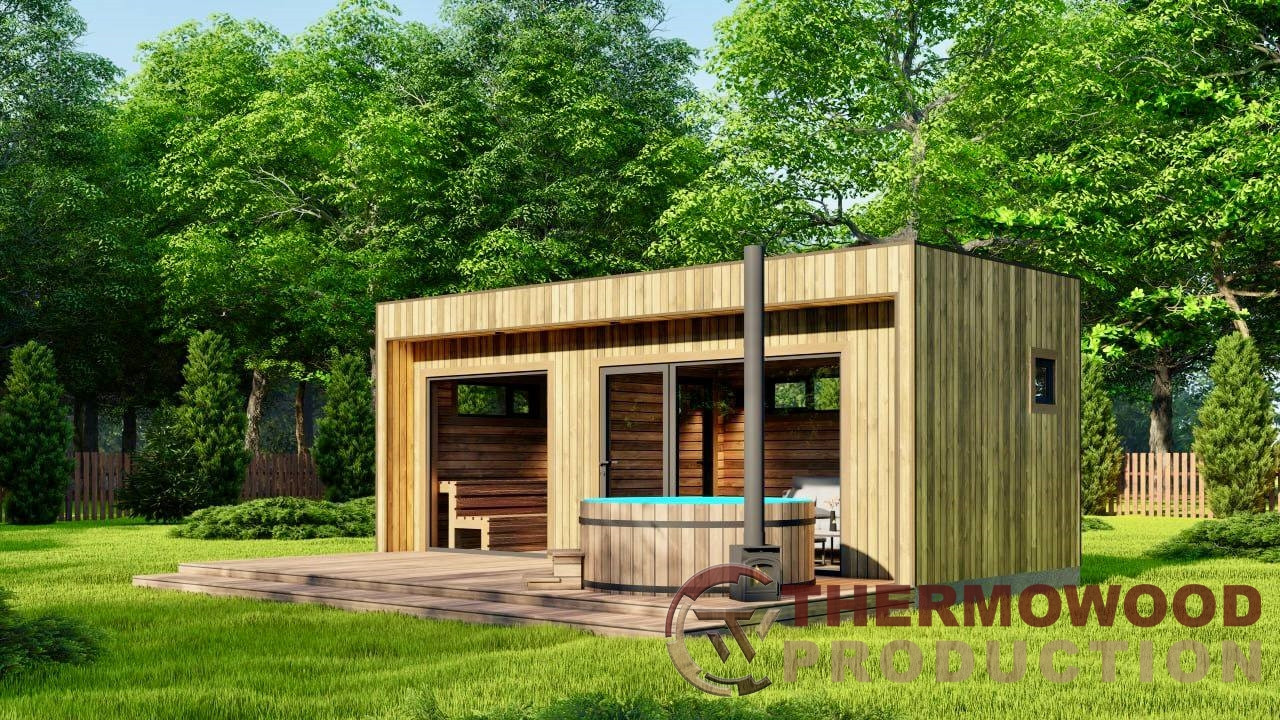
Stage 2: Installation of the foundation (1–5 days depending on the type)
Option A: Screw piles (fast method)
Materials :
- Screw piles Ø89 mm, length 2–2.5 m (12–16 pcs.)
- Pile head 100×100 mm (12–16 pcs.)
- Antiseptic for metal
- Sand for backfill
Step 2.1: Screwing in the piles
- Determine the installation points for the piles:
- Around the perimeter: step 1.5-2 m
- In the center: 2-3 additional piles for even load distribution
Layout for a 7×2.7 m bathhouse :
•———•———•———•———• (7 m side, 5 piles)
| |
• • (2.7 m side, 3 piles on each side)
| |
•———•———•———•———— (total 12–16 piles)
Screw in the piles using special equipment or manually (with a 2–3 m lever):
-
- Immersion depth: ≥1.5 m (below freezing depth)
- Verticality: check with a level (tolerance ±2°)
- The top edge of the piles should be at the same level (height above the ground 40-50 cm)
Step 2.2: Installing the Heads
- Cut the tops of the piles at the same level (use a grinder)
- Weld or screw the 100×100 mm heads.
- Treat welds with an anti-corrosion compound
Step 2.3: Binding (optional but recommended)
- Use a 150x100 mm wooden beam or a 100x50 mm metal channel.
- Secure to the heads with screws or welding
- Treat the wood with an antiseptic
Advantages of screw piles :
- ✅ Installation speed: 1–2 days
- ✅ Does not require concreting
- ✅ Can be installed in winter
- ✅ Ideal drainage (the space under the bathhouse is ventilated)
- ✅ Easy to dismantle and move
Option B: FBS blocks (budget method)
Materials :
- FBS blocks 20×20×40 cm (18–24 pcs.)
- Medium-sized sand (2–3 m³)
- Crushed stone of fraction 20–40 mm (1–2 m³)
- Roofing felt or hydroisol (1 roll)
- Antiseptic for wood
Step 2.1: Preparing the pillow
- Dig holes for the blocks 30–40 cm deep:
- Pit size: 50×50 cm
- Quantity: 12–16 points (as for piles)
- Add a 10 cm layer of sand and compact it.
- Add a 10 cm layer of crushed stone and compact it.
- Pour water over the area to seal it.
Step 2.2: Installing the Blocks
- Place roofing felt on the pad (waterproofing)
- Install FBS blocks strictly according to the level:
- Check the horizontal level with a level
- Height above ground: 20-30 cm
- Height difference tolerance: ±1 cm
Step 2.3: Waterproofing
- Cover the top of the blocks with roofing felt in 2 layers.
- Treat the side surfaces with bitumen mastic (optional)
Advantages of FBS blocks :
- ✅ Low cost (12–22 thousand UAH)
- ✅ Quick installation (1–2 days)
- ✅ No specialized equipment required
- ✅ You can install it yourself
⚠️ Disadvantages :
- Less stability on weak soils
- It's harder to align perfectly
- Limited dismantling capability
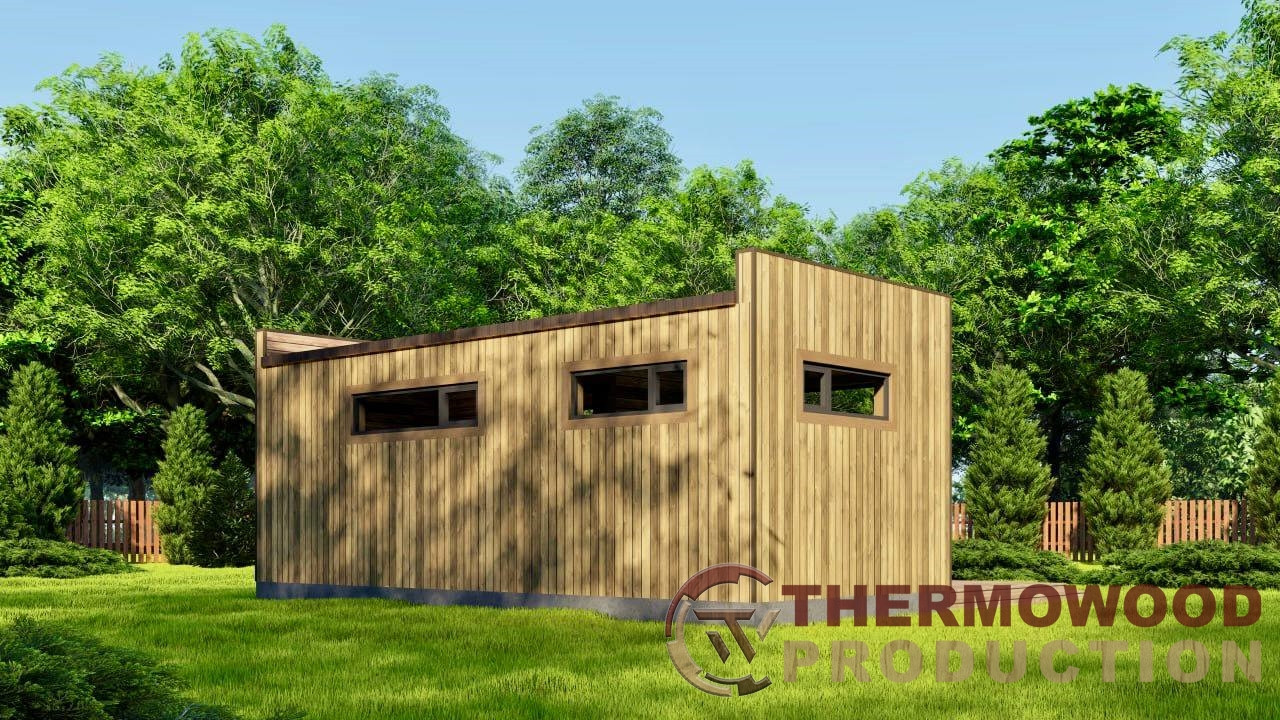
Option B: Concrete slab (maximum reliability)
Materials :
- Sand (4–5 m³)
- Crushed stone (3–4 m³)
- Rebar Ø10–12 mm (150–200 m)
- Concrete M200–M300 (8–10 m³)
- Polyethylene film (50–70 m²)
- Formwork boards (0.5–1 m³)
Step 2.1: Preparing the base
- Remove the fertile soil layer (15–20 cm)
- Add a 10 cm layer of sand and compact it with a vibrating plate.
- Add a 10 cm layer of crushed stone and compact it.
- Water to achieve final compaction.
Step 2.2: Waterproofing and formwork
- Cover the pillow with plastic wrap (overlap 15-20 cm)
- Install formwork from boards around the perimeter:
- Formwork height: 12-15 cm (slab thickness)
- Secure with stakes from the outside
- Check the diagonals
Step 2.3: Reinforcement
- Tie the reinforcement mesh:
- Cell: 20×20 cm
- Two layers (bottom and top)
- Distance between layers: 8–10 cm
- Use tie wire, do not weld
- Raise the bottom layer of reinforcement 3-4 cm above the film (use plastic spacers or bricks)
Step 2.4: Concreting.
- Order M200–M300 concrete with delivery (mixer) or prepare it yourself:
- Proportion: 1 part cement: 3 parts sand: 4 parts crushed stone
- Pour concrete in a layer of 12–15 cm:
- Align with a rule
- Compact with a vibrator or pin (air removal)
- Check the horizontal level with a level
- Cover with film to prevent moisture evaporation.
Step 2.5: Concrete Curing
- First 7 days: Water 2-3 times a day (to gain strength)
- After 7 days: the formwork can be removed
- After 14–21 days: the concrete gains 70–100% strength, the bathhouse can be installed.
Advantages of concrete slab :
- ✅ Maximum reliability and durability (50+ years)
- ✅ Perfectly flat surface
- ✅ Additional thermal insulation from the ground
- ✅ Possibility of installing underfloor heating
⚠️ Disadvantages :
- High cost (25–45 thousand UAH)
- Long installation time (3–5 days + 14–21 days for strength gain)
- Impossibility of dismantling
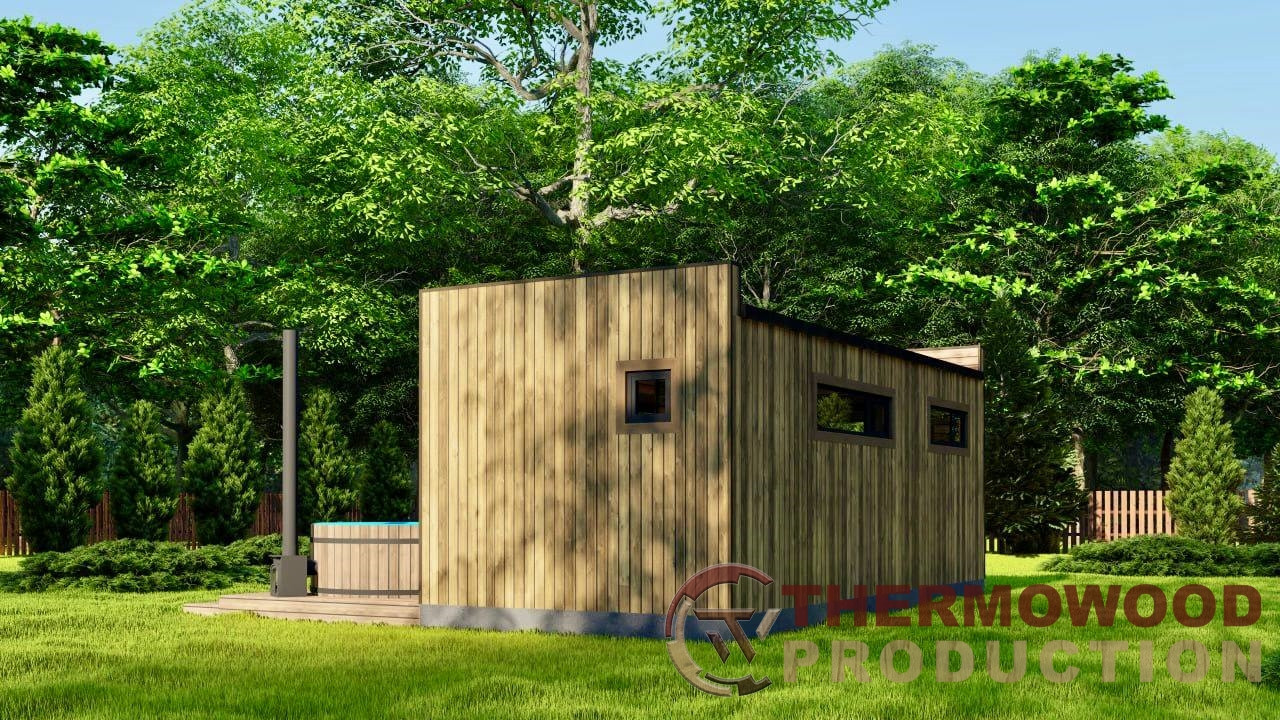
Stage 3: Connecting communications (1–2 days)
Step 3.1: Power Supply
Requirements :
- Power: minimum 9 kW (for electric oven + lighting + boiler)
- Voltage: 220V (single-phase) or 380V (three-phase, if available)
- Protection: RCD 30 mA, circuit breakers 16–32 A
- Grounding: resistance ≤4 ohms
Process :
- Lay the VVGng-LS cable 3×6 mm² (for 220V) or 5×6 mm² (for 380V):
- In the ground: in a protective corrugated pipe or HDPE pipe, depth 60-80 cm
- By air: on a rope, height ≥3.5 m above the ground
- Install a distribution board near the bathhouse :
- Automatic circuit breaker 32A
- RCD 30 mA
- Switches for lighting and sockets
- Connect the internal electrical wiring of the bathhouse (already installed by the manufacturer):
- Check the insulation resistance (≥1 MOhm)
- Check the grounding
⚠️ Important : Electrical installation work must be performed by a certified electrician with a clearance group of up to 1000V!
Step 3.2: Water supply and sewerage
Option A: Centralized water supply
- Connect the PPR pipe Ø20–25 mm from the water source:
- Planting depth: 60–80 cm (below the freezing depth)
- Use insulation (energoflex) for winter
- Install a shut-off valve near the bathhouse
- Connect to the terminals in the shower area (already prepared by the manufacturer)
Option B: Autonomous water supply (well/water well)
- Install the pumping station:
- In the bathhouse ( if there is heating)
- Or in a caisson near the well
- Connect to the sauna system
Sewerage:
- Option A: Centralized sewerage
- Bring the PP pipe Ø110 mm to the bathhouse
- Slope: 2 cm per 1 m of length
- Connect to the drain in the steam room and the outlet in the shower
- Option B: Septic tank or cesspool
- Dig a hole at a distance of ≥5 m from the bathhouse
- Install a septic tank or make a pit from concrete rings
- Bring in a Ø110 mm pipe with a 2 cm/m slope
- Option B: Drainage well (for shower)
- Dig a hole 1×1×1.5 m
- Fill with crushed stone and sand in layers
- Connect the pipe from the shower
💡 Expert advice : For winter use, be sure to insulate the water supply and sewerage system or install a heating cable.
Step 3.3: Ventilation
Although the bathhouse already has F-100 ventilation valves, it is recommended:
- Provide natural ventilation of the space under the bathhouse (for screw piles and blocks):
- Leave a gap of 40-50 cm between the ground and the floor
- Make vents in the base (if any)
- For concrete slab:
- Provide ventilation ducts in the stove (optional)

Stage 4: Final preparation before installing the sauna (0.5–1 day)
Step 4.1: Checking the Foundation
- Check the horizontality:
- Use a laser or water level
- Tolerance: ±1 cm per 7 m length
- Check the dimensions:
- Length: 7000 ±20 mm
- Width: 2700 ±20 mm
- Diagonals: difference ≤20 mm
Step 4.2: Waterproofing the contact points
- Place the following on the areas where the bathhouse contacts the foundation (piles, blocks or slab):
- Roofing felt in 2 layers
- Or hydroisol
- Or a special waterproofing membrane
- This prevents capillary absorption of moisture by wooden structures.
Step 4.3: Preparing for unloading
- Provide access for a crane or truck:
- Width: ≥3 m
- Height: ≥3.5 m
- Soil strength: compact if necessary
- Prepare the area for unloading:
- Size: ≥10×5 m
- Flat surface

❌ Common mistakes and how to avoid them
Mistake 1: Ignoring the groundwater level
Problem : High groundwater levels lead to flooding of the site, rotting of wood, and destruction of the foundation.
How to avoid :
- Check the groundwater level in spring (highest level)
- If water is close (<1 m from the surface):
- Choose screw piles (highest support points)
- Make drainage around the site
- Raise the base 50-60 cm above the ground
Error 2: Insufficient compaction of the base
Problem : Soil subsidence under load leads to the bathhouse becoming uneven , cracks appearing, and damage to utilities.
How to avoid :
- Be sure to compact the sand and gravel bed.
- Use a vibrating plate (not just your foot)
- Water to achieve final compaction.
- Wait 1-2 days before installation
Error 3: Lack of waterproofing
Problem : Moisture from the soil rises through capillaries into wooden structures → rotting, mold, unpleasant odor.
How to avoid :
- Between the foundation (blocks, piles, slab) and the bathhouse, be sure to lay roofing felt in 2 layers.
- For concrete slab: use polyethylene film under the concrete and waterproofing on top.
- Treat the bottom crown of the wooden frame with an antiseptic.

Error 4: Incorrect slope for sewerage
Problem : Stagnant water in pipes, unpleasant odor, blockage, backflow.
How to avoid :
- Slope of sewer pipe Ø110 mm: 2 cm per 1 m of length
- For a pipe Ø50 mm: 3 cm per 1 m
- Check the slope with a level during installation.
- Avoid right angles (use 45° knees instead of 90°)
Error 5: Insufficient electrical power
Problem : Tripping of circuit breakers, overheating of wiring, fire hazard.
How to avoid :
- Calculate the total power:
- Electric oven: 6-9 kW
- Boiler: 1.5–2 kW
- Lighting: 0.5 kW
- Sockets: 1–2 kW
- Total: 9–14 kW
- Run a separate cable from the meter
- Use section:
- For 9 kW: 3×6 mm² (copper)
- For 14 kW: 5×6 mm² (three-phase)
- Install a separate 32–40A circuit breaker and a 30 mA RCD.
Mistake 6: Ignoring drainage
Problem : Stagnant water around the bathhouse , flooding, rotting, uncomfortable operation.
How to avoid :
- Make the site slope 2–3° away from the bathhouse (water flows out)
- Install drainage channels around the perimeter (optional)
- For screw piles: the space under the bathhouse provides natural drainage.
- For a concrete slab: make a 50-70 cm wide blind area with a slope away from the slab
Error 7: Lack of ventilation vents
Problem : Stagnant moist air under the floor → rotting, mold, unpleasant odor.
How to avoid :
- For screw piles and blocks: leave a space of 40–50 cm between the ground and the floor
- Make vents (holes) in the base: 1 hole per 2-3 m of perimeter
- Spirit size: 10×10 cm or Ø10–15 cm
- In winter, the vents can be closed, but not completely.
Mistake 8: Skimping on materials
Problem : Cheap materials deteriorate quickly, leading to costly repairs.
How to avoid :
- Don't skimp on:
- Waterproofing (high-quality roofing felt or hydroisol)
- Rebar (not rusty, correct diameter)
- Cables (only copper VVGNG-LS)
- Pipes (PPR for water, PP for sewerage)
- It's better to spend 2-3 thousand UAH more now than 20-30 thousand UAH on repairs in 2 years.
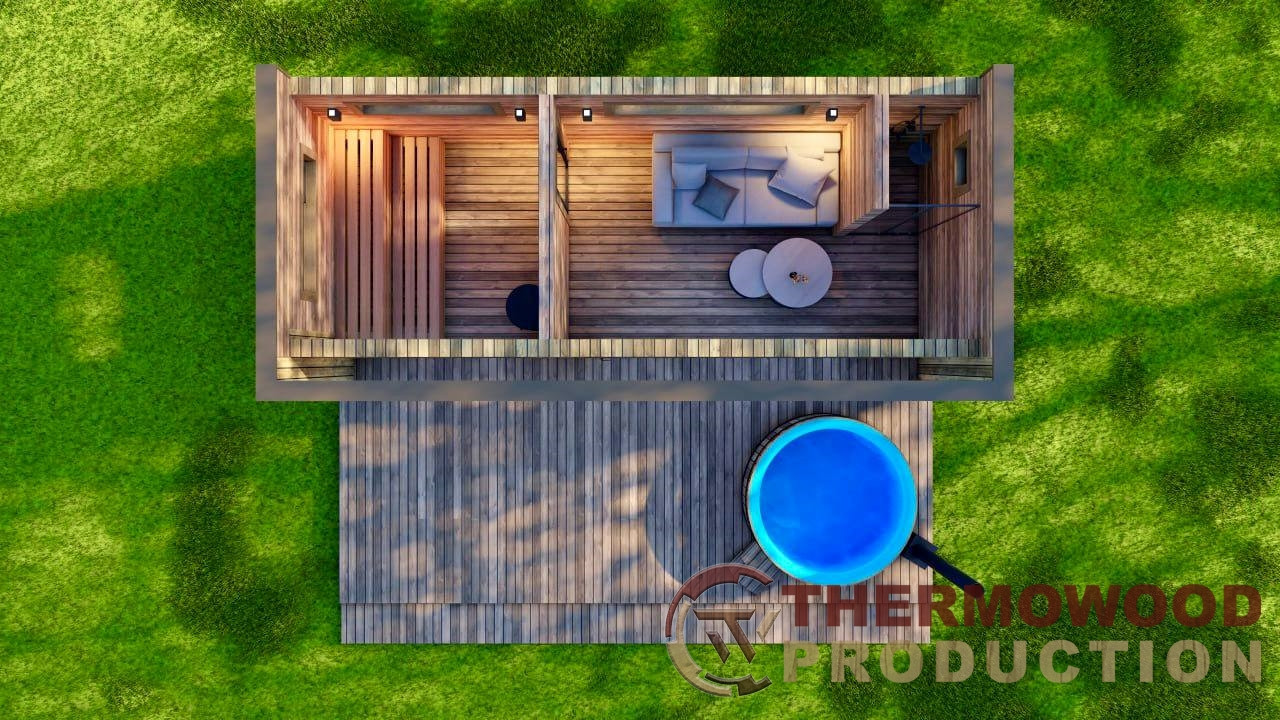
📖 Case Study: How We Prepared a 7x2.7m Bathhouse Site in Sokolovka
Initial data:
- Location : Sokolovka village, Zhytomyr region
- Soil type : loam, groundwater level 1.2 m (in spring)
- Terrain : flat area, slight slope of 2°
- Client budget : up to 25,000 UAH for site preparation
- Deadlines : The bathhouse had to be installed within 10 days.
Selected solution: Screw piles Ø89 mm
Why did you choose this option :
- ✅ Installation speed (1–2 days)
- ✅ Suitable for loam and high groundwater levels
- ✅ Budget: 22,000 UAH (including materials and labor)
- ✅ Possibility of dismantling in the future (the client planned to move in 5-7 years)
Stages of work:
Day 1: Preparation
- Clearing the site of vegetation (10 cm of fertile soil layer removed)
- Marking: 16 points for piles (5x3 pattern + 1 central)
- Delivery of materials: 16 piles Ø89×2500 mm, 16 heads 100×100 mm
Day 2: Installation of piles
- Screwing piles using specialized equipment (hydraulic drive)
- Immersion depth: 1.8 m (below the freezing depth for the region)
- Horizontal alignment (laser level)
- Trim the tops at the same level (height above ground: 45 cm)
- Welding of heads, treatment of seams with anti-corrosion compound
Day 3: Harnessing and Communications
- Installation of a frame made of 150×100 mm timber (along the perimeter + 2 longitudinal joists)
- Treating wood with Vidaron antiseptic
- Laying VVGng-LS 3×6 mm² electrical cable in a HDPE pipe (depth 70 cm)
- Supply of PPR water pipeline Ø25 mm from the well (distance 15 m)
- Installation of a PP sewer pipe Ø110 mm to a septic tank (slope 2 cm/m, length 12 m)
Day 4: Final Preparations
- Checking the horizontal level (a difference of ±5 mm over 7 m is normal)
- Waterproofing of roof heads with roofing felt in 2 layers
- Installing a temporary canopy to protect from rain
- Final check of communications (water pressure, insulation resistance)
Result:
- ✅ Completion time : 4 days (instead of the planned 10)
- ✅ Budget : 21,500 UAH (savings 3,500 UAH)
- ✅ Quality : perfect horizontal alignment, all utilities connected
- ✅ Customer Satisfaction : ⭐⭐⭐⭐⭐
Customer review : "The Thermowood team did a lightning-fast job! I thought I'd have to wait a week, but they did it all in four days. The sauna is perfectly level, with no wobble. I especially liked that I didn't have to wait for the concrete to set—they screwed the piles in and were ready to install it right away . "
- Andrey K., sauna owner
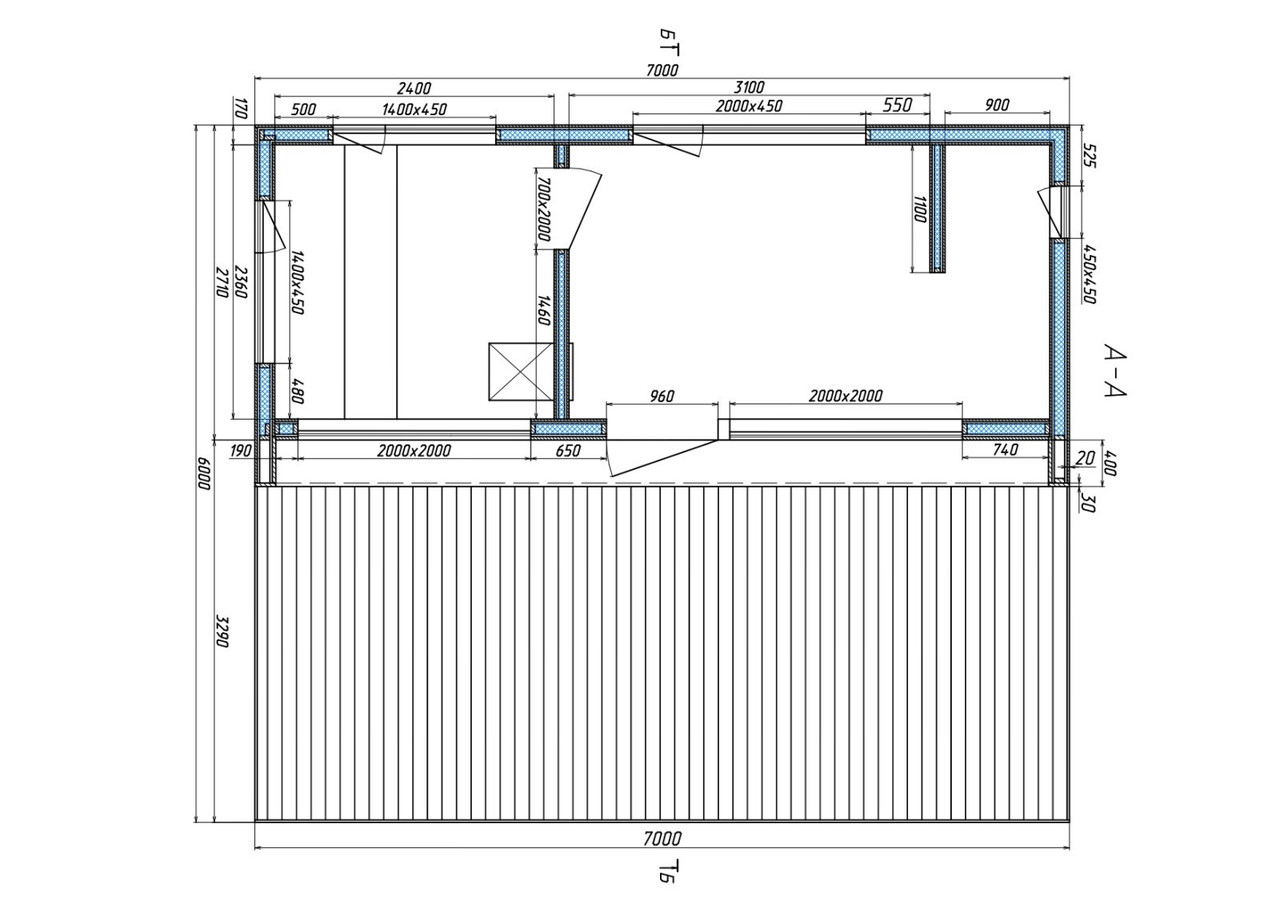
💡 Expert advice for perfect results
Tip 1: Plan Ahead
Avoid installing the system in the rain or after heavy precipitation. The soil must be dry for proper compaction. The best time is April-October (when there is no frost).
Tip 2: Engage specialists
Even if you're an experienced builder, surveying and electrical installation require specialized knowledge and equipment. Saving 2,000–3,000 UAH on specialists can cost 20,000–30,000 UAH in repairs.
Tip 3: Document the process
Take photos of each stage:
- Markup
- Laying reinforcement
- Laying communications to the backfill
This will help with upcoming renovations or selling real estate.
Tip 4: Don't Ignore the Rules
DBN B.2.2-15-2005 "Residential Buildings. Basic Provisions" requires:
- Distance from the site boundaries: ≥1 m
- Distance from other buildings: ≥3 m
- Fire gap: ≥6 m (for wooden buildings)
Compliance with regulations will avoid problems with neighbors and regulatory authorities.
Tip 5: Think about the future
If you're planning an expansion (a terrace, a carport, a second sauna ), leave some space in advance. Removing and relocating utilities will cost more than the initial design.
📞 Get a free consultation with an engineer
Preparing the site is just the first step to your perfect sauna . To avoid mistakes and save time and money, order a 7x2.7 m sauna from Thermowood Production and receive:
- ✅ Free site preparation consultation with an engineer (on-site or online)
- ✅ Customized utility layout plan for your site
- ✅ Technical data sheet with requirements for the foundation and connections
- ✅ 3D visualization of a bathhouse on your site
- ✅ Help with choosing the type of foundation (piles, blocks, slab) taking into account your soil and budget
📞 Contact information for orders:
- 🔹 Phone / WhatsApp / Viber : +38 067 201 50 50
- 🔹 Email : info@thermowood-production.de
- 🔹 Website : lestorg.org.ua | thermowood-production.de
- ✅ Free consultation with an engineer
- ✅ Individual site preparation estimate
- ✅ Catalog of completed projects 2024–2026
- ✅ Technical data sheet and certificates


 Hur du köper en premium modulär bastu eller SPA-komplex direkt från tillverkaren: Den ultimata guiden för export till Sverige och EUt köpa en privat bastu eller en wellness-kabin till trädgården, fritidshuset eller det kommersiella retreatet är en strategisk investering i hälsa, komfort och fastighetens värde.Полная версия статьи
 Cum să cumperi o saună modulară premium sau un complex SPA direct de la producător: Ghidul complet pentru export în România și UEAchiziționarea unei saune private sau a unei cabine de wellness pentru grădină, casa de vacanță sau un obiectiv comercial (glamping, pensiune) este o investiție strategică în sănătate, confort și valoarea proprietății.Полная версия статьи